Aspirational Words Here
My mission is to empower every developer and data scientist to be successful with Artificial Intelligence and Machine Learning. Also Coding. And Software. And whatever else I am thinking about.

How Can I Help?
- Have a question about AI/ML?
- Working on a cool AI/ML project?
- Looking to work on AI/ML but are stuck?
- Wanting to break into the field?
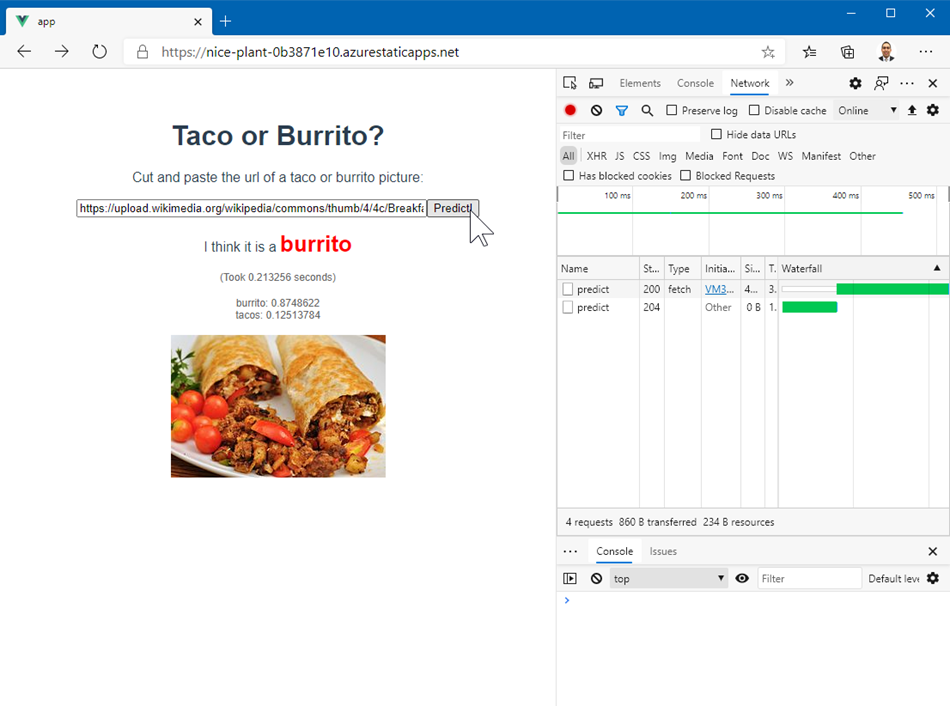
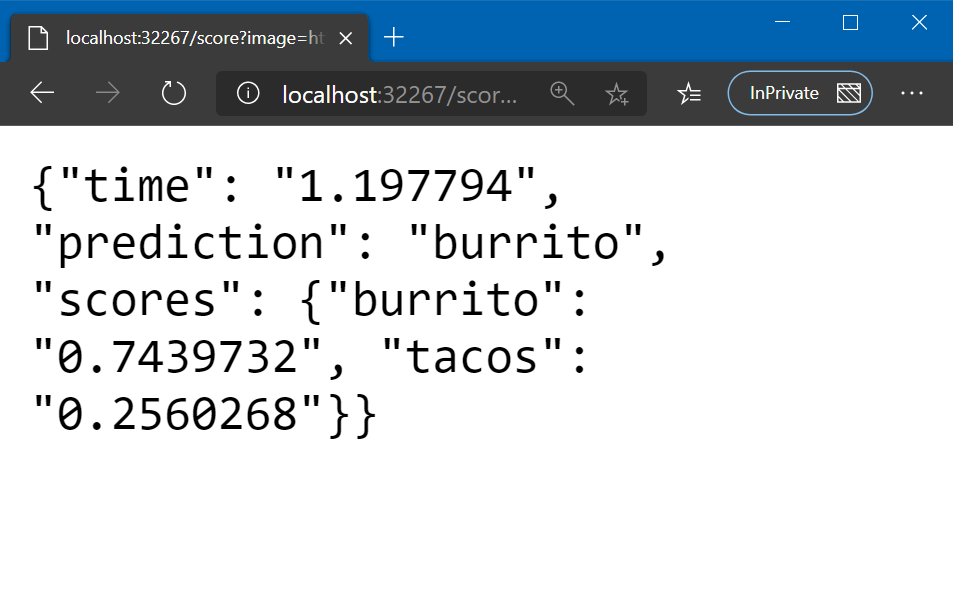
Fixing Mixed-Content and CORS issues at ML Model inference time with Azure Functions
This is a follow-up from the previous post on deploying an ONNX model using Azure Functions. Suppose you've got the API working great and youwant to include this amazing functionality on a brand new w...
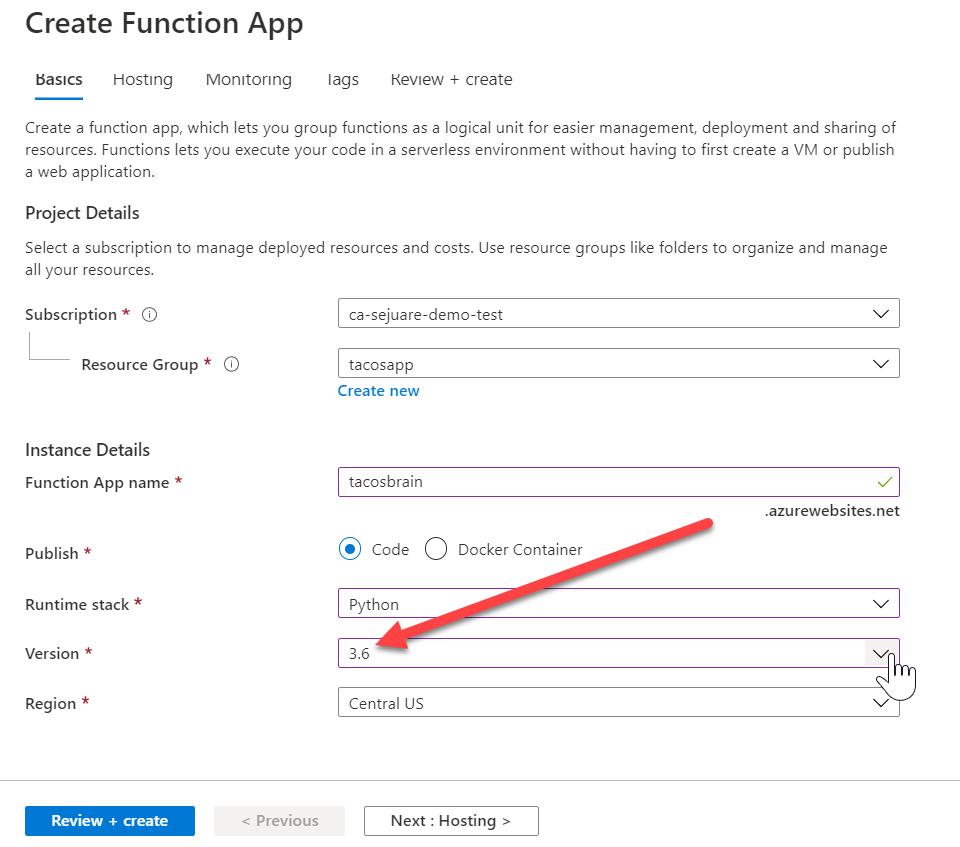
Troubleshooting an ONNX Model deployment to Azure Functions
Building awesome machine learning models can be an onerous task. Once all the blood, sweat and tears have been expended creating this magical (and ethical) model sometimes it feels like getting the th...
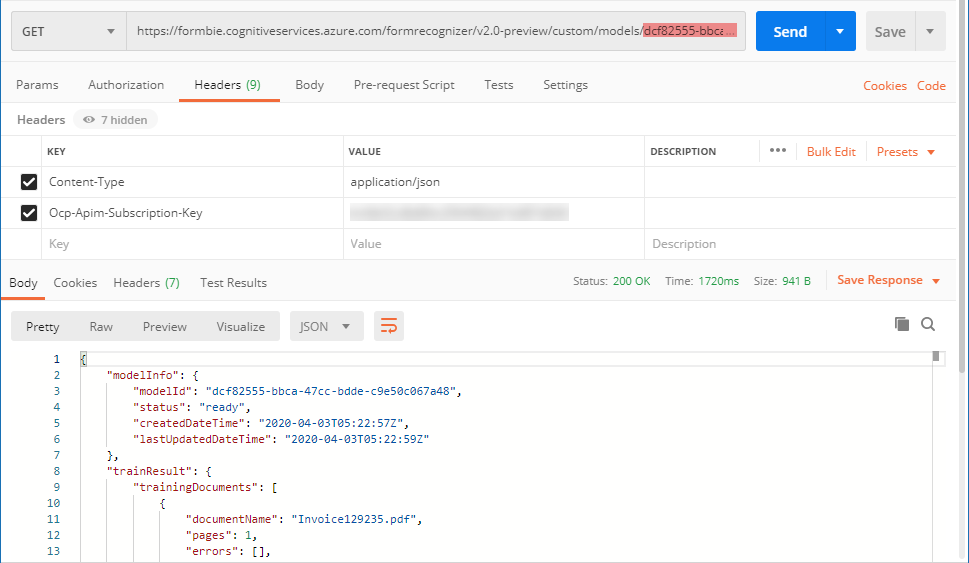
Making Use of Unstructured Data with Form Recognizer
Every business has their "junk" drawer (or the "share" as Bill/Karen likes to call it). Often hidden in this data wasteland are nuggets of informational gold that could revolutionize the way you do bu...
3 Tips for Debugging Cloud Scale Machine Learning Workloads
Let's say you built an amazingly wonderful hand-crafted artisanal convolutional neural network that works beautifully on your hard-drive based dataset. You are now ready to take this masterpiece to th...